LoadTakedown tutorials
Structural load takedown, explained
Guides to tributary areas, loaded widths and foundation loads, from the basics through to full worked examples.
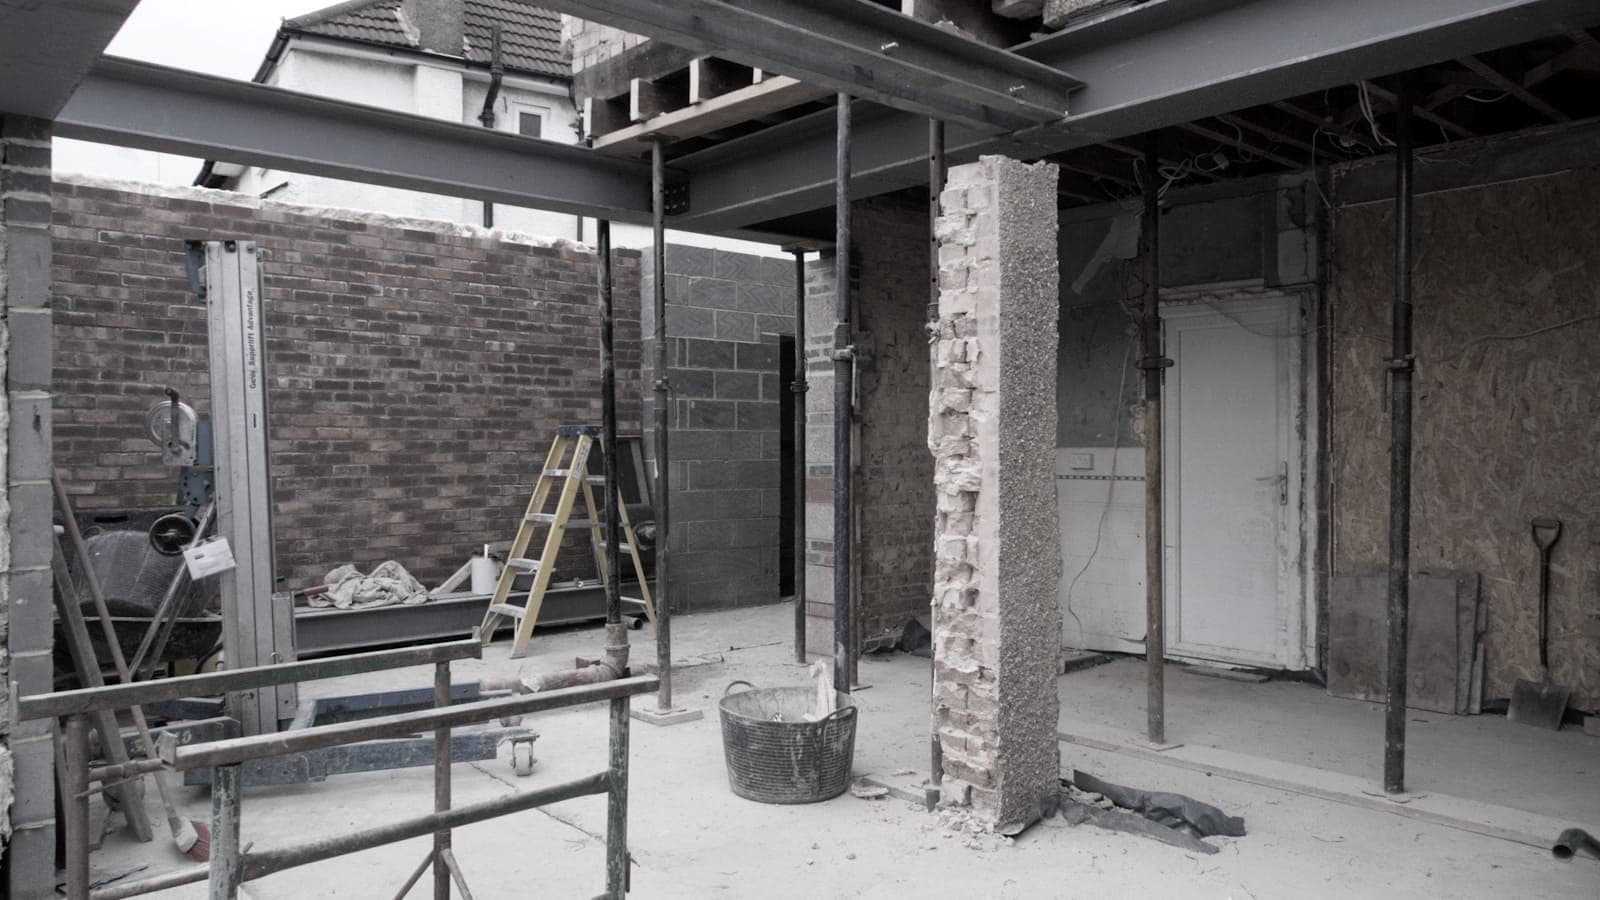
Latest
Free Load Takedown Spreadsheet Template
Download a free Excel template for structural load takedown calculations: input tributary areas, accumulate loads through levels, and produce permit-ready results.
26 March 2026 · 3 min read
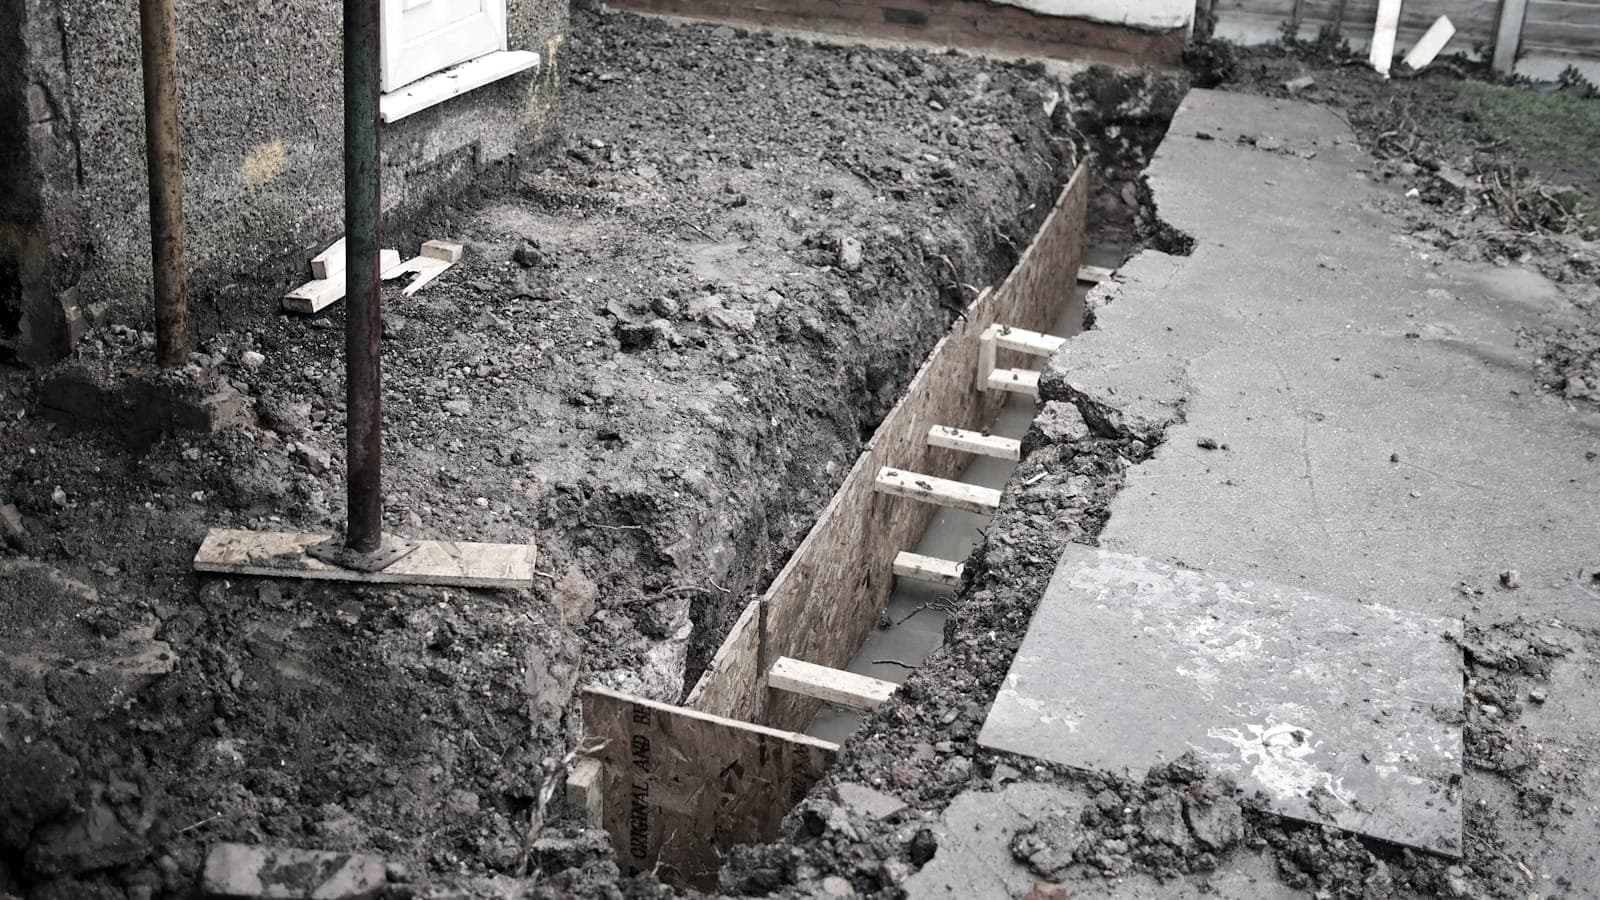
How to Calculate the Foundation Load for a Wall
Step-by-step guide to calculating the total load a wall delivers to its foundation.
21 March 2026 · 4 min read
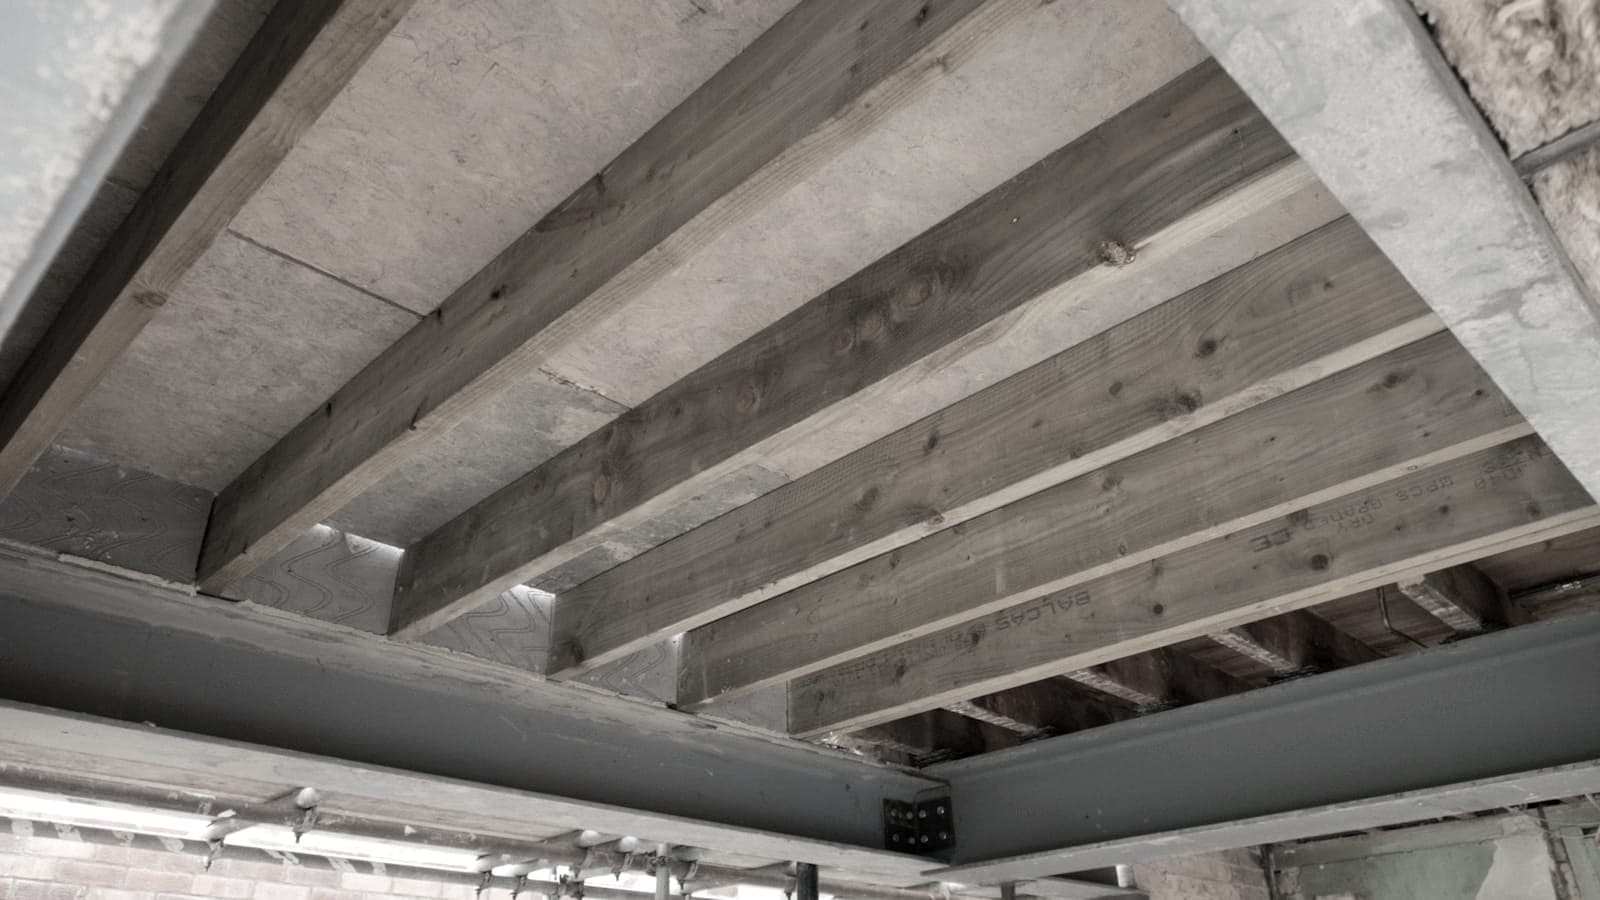
What is a Loaded Width?
Loaded width explained: how the width of floor area feeding a wall determines its line load.
21 March 2026 · 3 min read
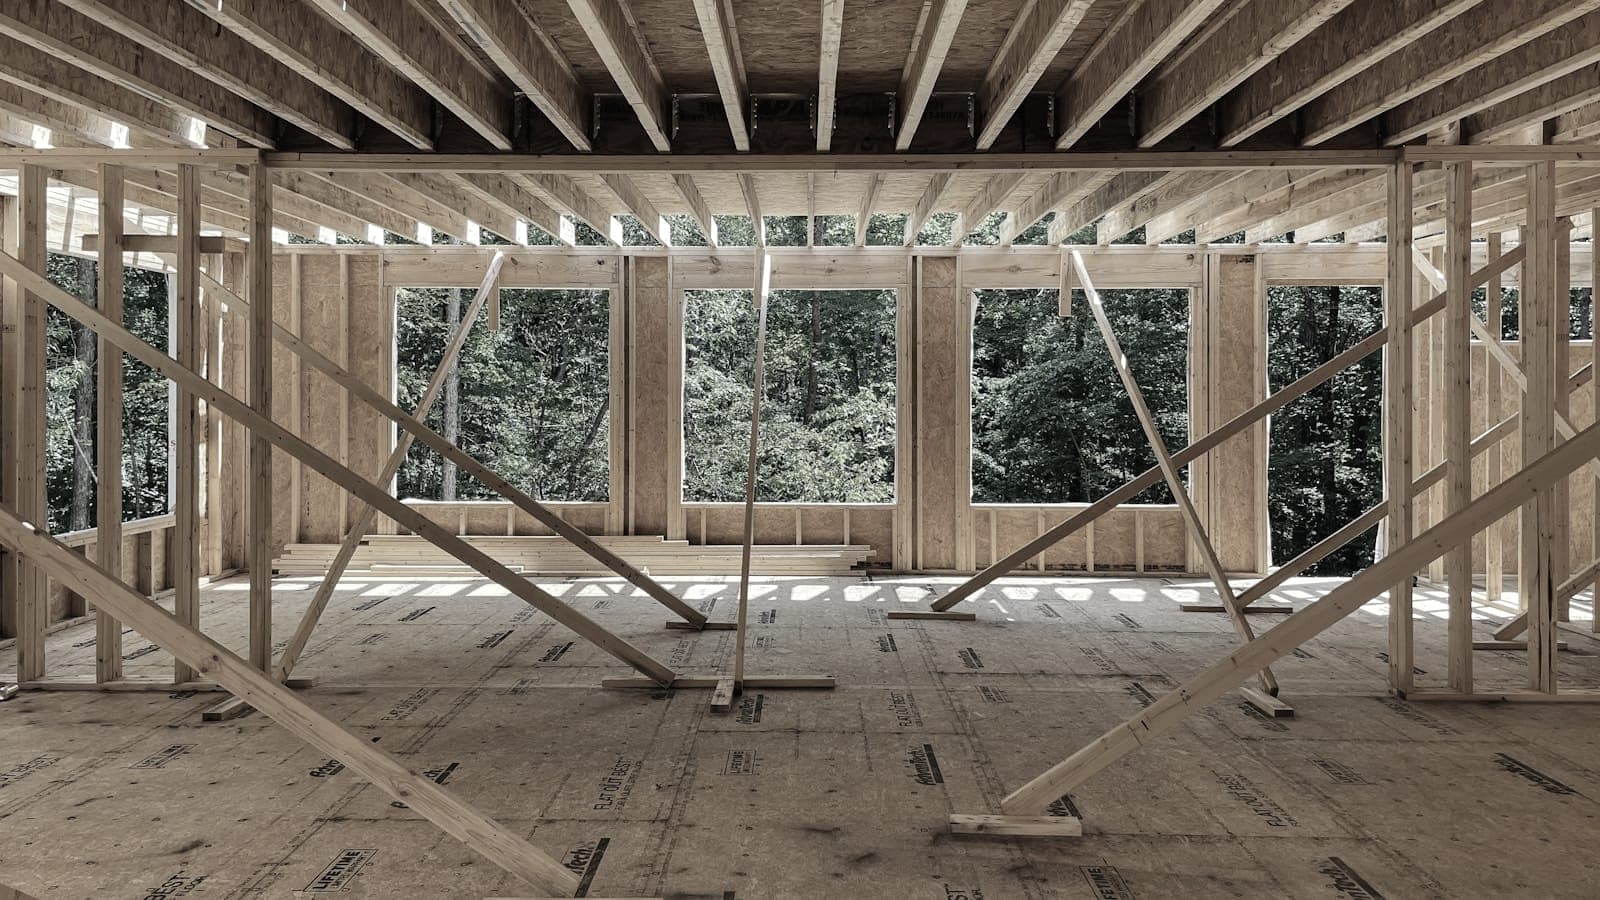
What is a Tributary Region?
Understanding tributary regions: the areas of floor that transfer load to each supporting wall or beam.
21 March 2026 · 3 min read
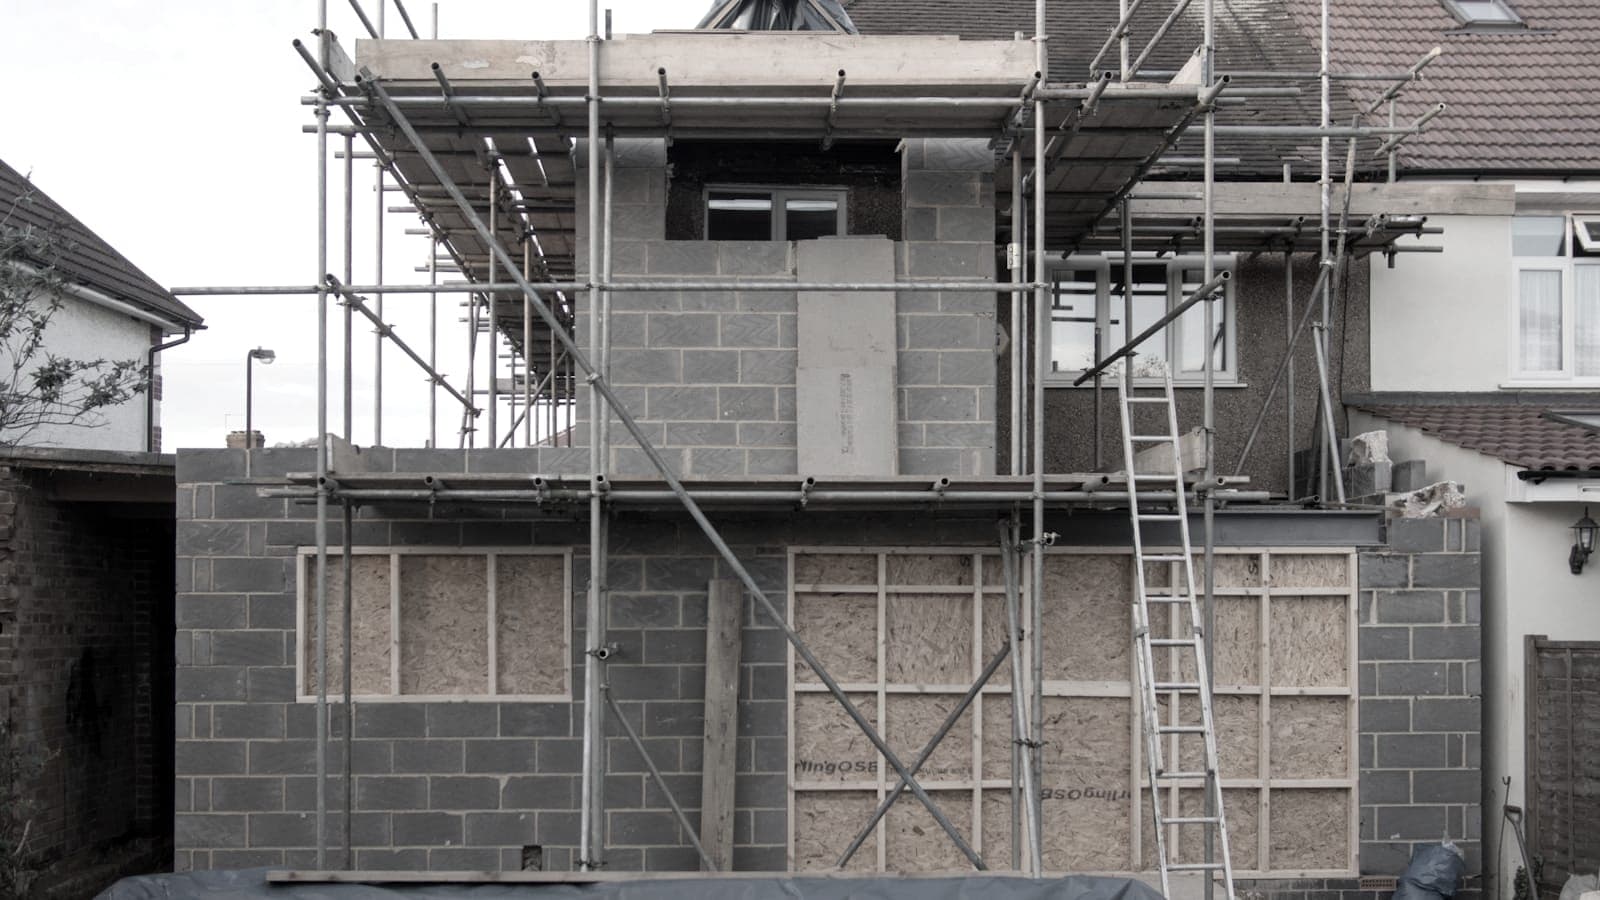
Introduction to Load Takedown
A quick primer on what load takedown is, why it matters, and how engineers use it.
1 October 2025 · 1 min read

Load Takedown Worked Example
Step-by-step manual load takedown for a simple two-storey house, from floors to foundations.
25 September 2025 · 4 min read
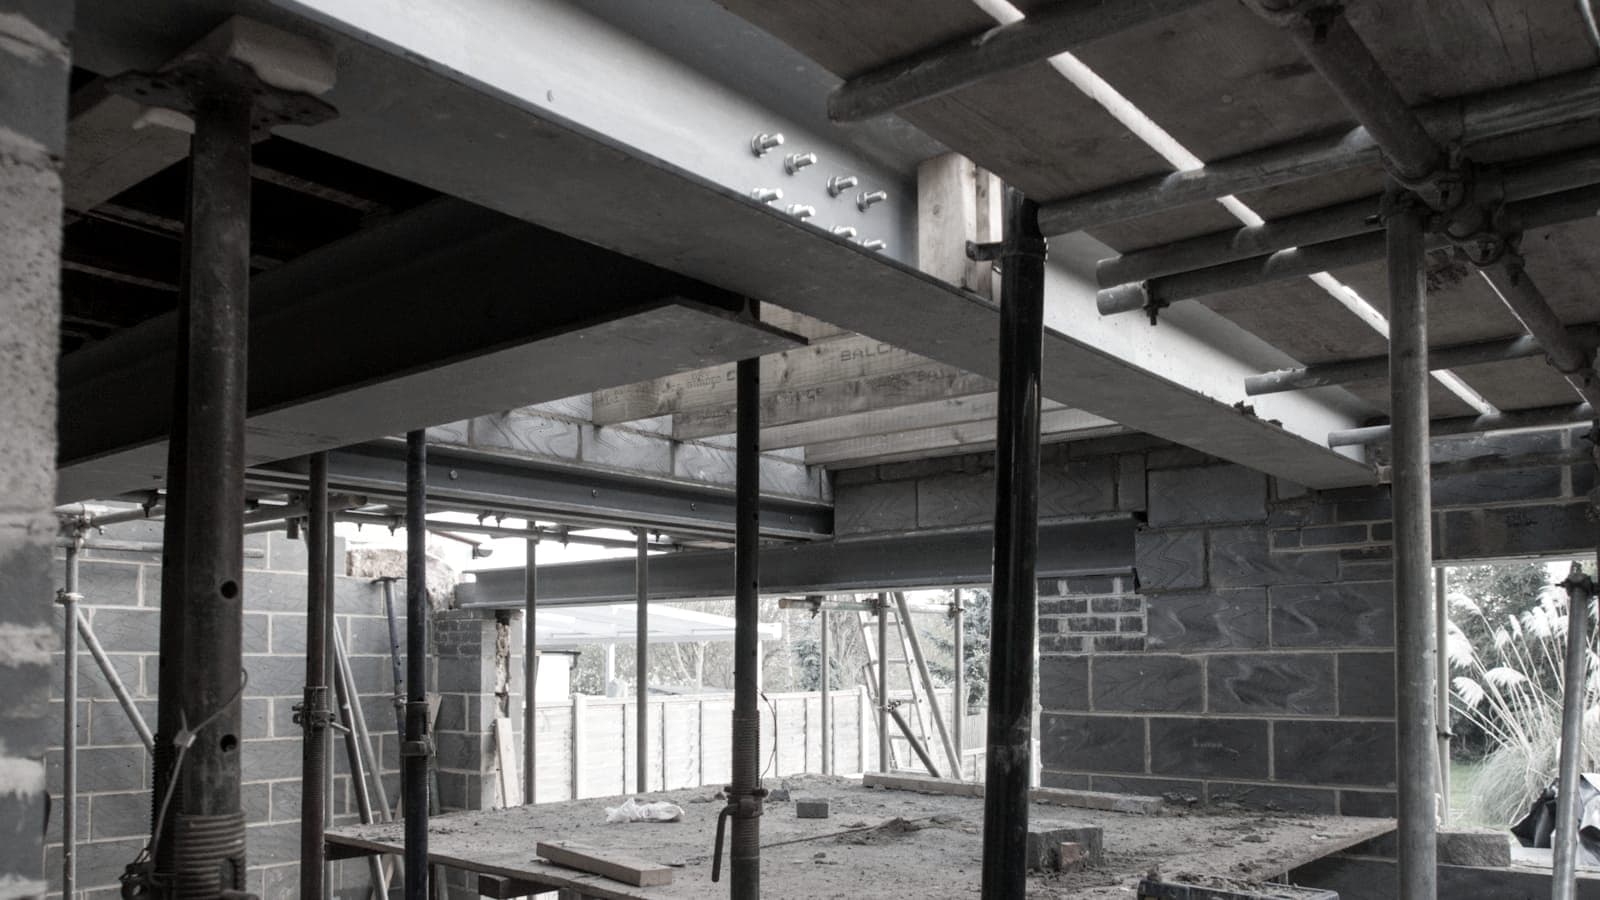
Manual Load Takedown with Pen and Paper
How to trace loads by hand from roof to foundation, with realistic UK domestic values.
21 August 2025 · 8 min read